Creating a Golden Image from Scan
The easiest method to install Golden Images on your UForge AppCenter is to create a golden image from a scanned Windows instance.
Before you create a Golden Image from scan, you must have access to a machine which has the version of Windows installed which corresponds to the version of the golden image you want to create. For example, if you want to create a golden image for Windows 2012R2, then you must scan a machine with Windows 2012R2 installed. For more information on supported versions refer to Supported Microsoft Windows Versions.
In order to create a Golden Image from scan:
- Install and configure Windows. For more information refer to First Installation of Microsoft Windows.
- Install and configure applications.
- Scan a Windows machine.
- On the
Scanspage, select the scan you want to use as the base for your golden image.- Click on the
importbutton.- Select
import as golden image in your organizationfrom the pop-up window and clickimport.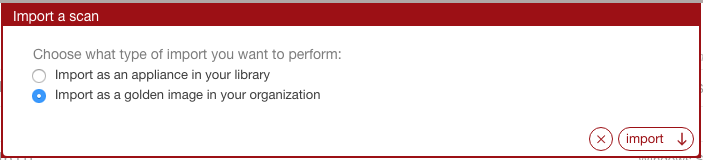
- Enter the name and version you want to give to the golden image. You can also add a description (optional). Click
import.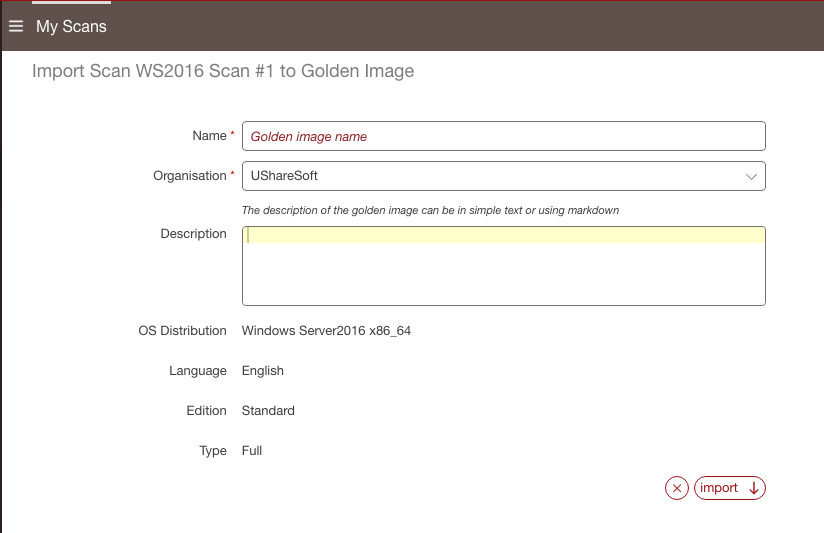
- The progress will be shown. Once complete, the golden image will be visible under the
Golden Imagestab of the scan.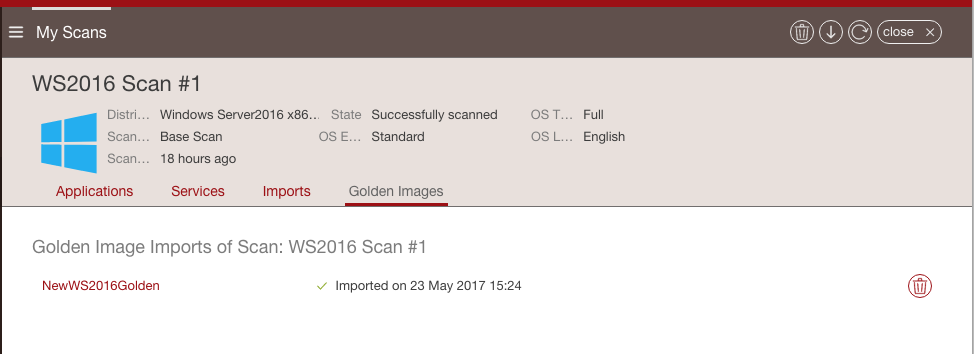
Deleting a Golden Image Created from Scan
To delete a golden image you created from scan:
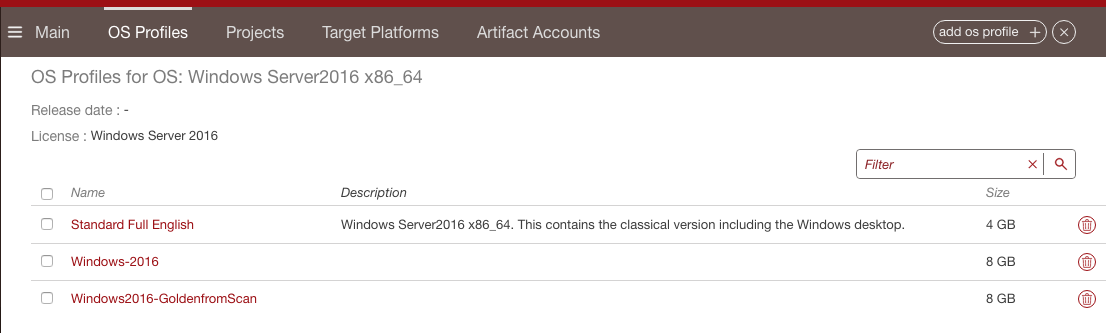
- Go to the
OS Profiletab on theAdministrationpage.- Select the operating system for which the golden image was created.
- Click on the delete icon next to the golden image you want to remove.
Note
From the Golden Images tab on the Scans page you also have an option to delete. However, this does not delete the golden image from UForge, only the metadata. Therefore, when you want to create an appliance, the golden image will still appear under the OS Profile list.